
How to Backup your Raspberry Pi
If you burned a Raspberry Pi image to an SD card, you probably used the standard install script. That script has some convenience code to hide the details and make it easy to setup the card. If you drill down you will see that the script is basically doing three things:
- Lists your drives (including the SD card)
- Unmounts the SD card
- Uses a program called dd to burn (write) the image to the card
You can do that all from the command line.
Create your own images
The great thing about dd is that you can also use it to copy images from the SD card. That way if you lose your Pi or the SD card is corrupted, you have a backup.
Simulating how the install script works
These instructions were written for a Mac.
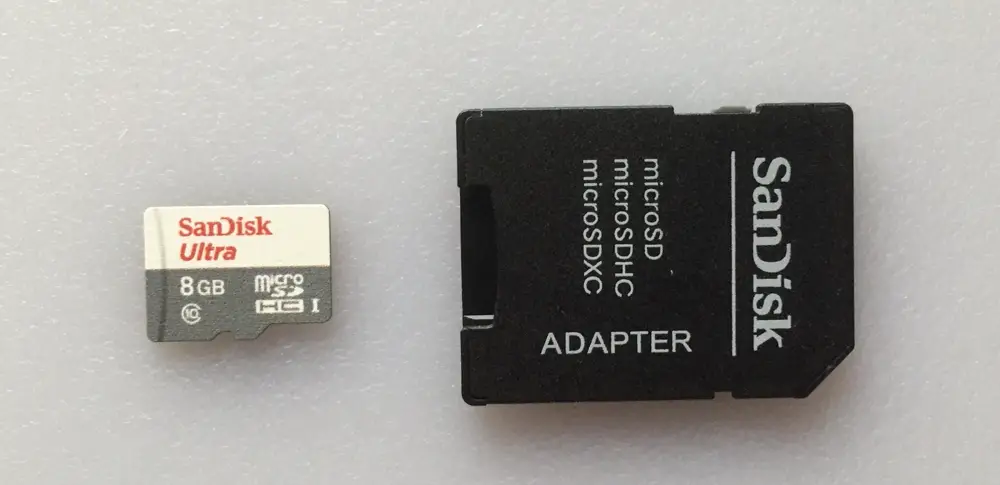
Using the adapter if needed, plug an 8GB micro-SD card into your computer. In this example I'm using a card that already has Raspbian on it.
Open up a terminal window and type:
diskutil list
At the bottom of the output, you should get a result similar to this:
/dev/disk2 (internal, physical):
#: TYPE NAME              SIZE    IDENTIFIER
0: FDisk_partition_scheme *7.9 GB disk2
1: Windows_FAT_32 boot    66.1 MB disk2s1
2: Linux                   7.9 GB disk2s2
Because our SD card is 8GB, we can tell that /dev/disk2 is the SD card. On your machine it may be different. Make sure you have the correct one before proceeding.
Unmount the SD card
Before the install script can burn the image to the card, it needs to unmount it first. It does that by issuing this command:
diskutil unmountDisk /dev/disk2
Then, to burn the image to the SD card, the install script executes a command like this (substituting the real name of the image file):
sudo dd bs=1m if=~/yyyy-mm-raspbian-xxx.img of=/dev/disk2
For example:
sudo dd bs=1m if=./2016-05-27-raspbian-jessie-lite.img of=/dev/disk2
Finally, when it's done it issues an eject command:
diskutil eject /dev/disk2
These days most drives (especially an SD drive) won't physically eject the disk/card. It's more of a logical eject: meaning it's safe to remove the card now. You can also do this by right-clicking on the card on your desktop.
The dd command arguments
You can look up the command yourself by typing in a terminal window:
man dd
In the example of how the image is written by the install script, dd is called with three arguments:
- bs=1m -- sets the disk block size for the read or write operation
- if=(path.img) -- input file -- in this case the image file that you want to burn to the SD card
-
of=(disk) -- output -- in this case the disk that you want to burn the image to
Backing up the SD image
To clone an image to a backup you do the reverse of the install script.
Instead of being the output (of) the disk is now the input (if). The output is now the name of a file to create and write the image to.
Here is an example:
sudo dd if=/dev/disk2 of=~/Desktop/mypi.dmg
After several minutes, a file named mypi.dmg will be created on your desktop containing your backup. I just named it "mypi" as an example. You can name the file anything you want. I'd suggest a name that makes it easy to identify. Since I was working on a Mac, instead of calling it a *.img file, it's a *.dmg file.
These images tend to be the size of the whole SD card. Long term you may want to look into storing them on a USB drive or off site.
Restoring / burning the image
Restoring your backup image to the SD card is the same as burning a Raspbian image to the card. But instead of using their *.img file, you use your *.dmg file.
Here is an example:
diskutil unmountDisk /dev/disk2
sudo dd bs=1m if=./mypi.img of=/dev/disk2
Do you really need to worry about this?
Yes! You should always backup your work. Pi computers don't always have a keyboard attached. Instead of issuing a proper shutdown command the plug may be pulled. This can lead to SD corruption.
Another problem is that your Pi-based robot may drive off a cliff. I've heard many stories of drones, Pi-based and not, flying off never to be seen again. You wouldn't want to lose 6 months worth of work would you?
Related items
For this blog I back up a lot of images. This is the drive and case that I use:
- Samsung T5 Portable SSD - 2TB - USB 3.1 External SSD (MU-PA2T0B/AM), Black
- ProCase Carrying Case for Samsung T5 T3 SSD, Compact Hard Shockproof Carry Case for T5 / T3 / T1 Portable SSD 250GB 500GB 1TB 2TB USB 3.1 Type C Hard Drive –Black