
Raspberry Pi Pico Setup (Mac, 12 Steps)
This article covers how to setup a Raspberry Pi Pico. Then how to write and upload a MicroPython program to it using a Mac.
I used an Apple MacBook Air with an Apple M1 Chip - but any recent Mac should work.
Step 1. Hardware Requirements
For this article I used the following hardware:
- 2020 Apple MacBook Air with Apple M1 Chip (13-inch, 8GB RAM, 256GB SSD Storage) - Gold (Amazon Affiliate Link)
- Amazon Basics USB Type-C to Micro-B 2.0 Short Charger Cable - 6 Inches (15.2 Centimeters) - Black (Amazon Affiliate Link)
- Choose this cable if like my Macbook Air you only have USB-C ports
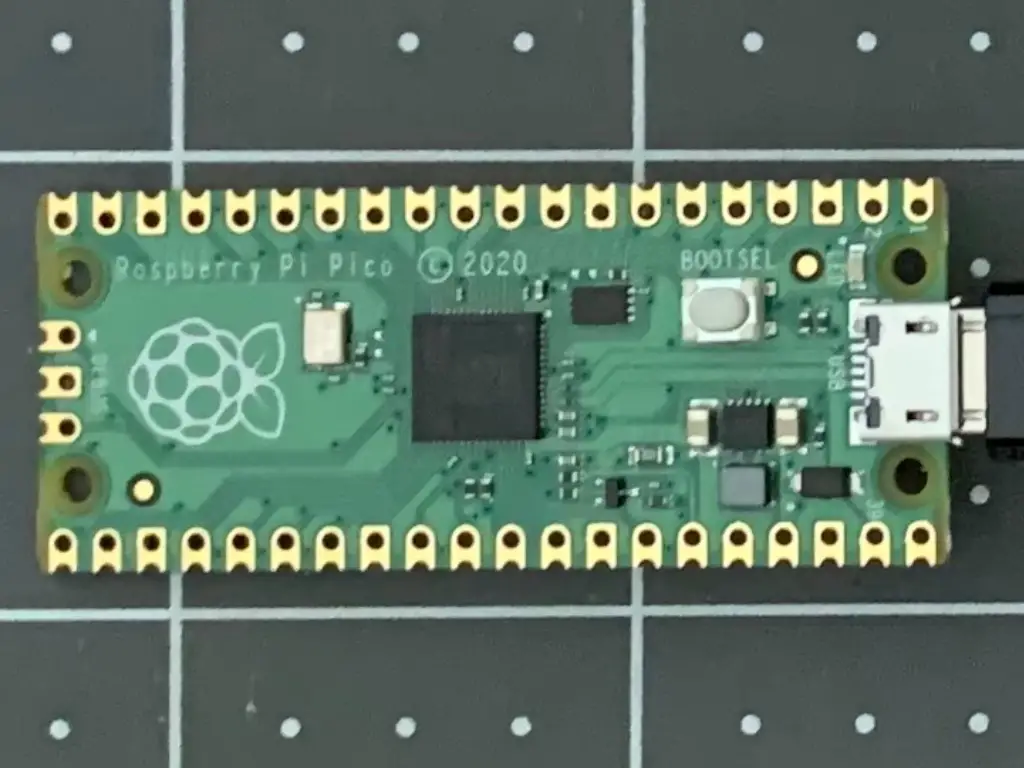
- Waveshare Raspberry Pi Pico A Low-Cost High-Performance Microcontroller Board with Flexible Digital Interfaces Incorporates RP2040 Microcontroller Chip Designed by Raspberry Pi (Original)
Because this is a simple Hello World program, there is no need to solder any headers on to the board.
Step 2. Connect the Raspberry Pi Pico to your Mac
During this step, make sure not to put the Pico down on a metal or wet surface to avoid shorting it!
- Plug the Micro-B side of the cable into the Raspberry Pi Pico
- Plug the other end into your Mac
- A drive called RPI-RP2 should appear on your desktop
- If this doesn't happen, try unplugging and plugging it in again while holding down the BOOTSEL button on the Pico
Step 3. Download MicroPython for the Raspberry Pi Pico
- Double click on RPI-RP2 and it should open a Finder window
- You should see two files:
- INDEX.HTM
- INFO_UF2.TXT
- Double-click INDEX.HTM
- This should redirect you to this page:
- Look for a tab on the page labeled Getting started MicroPython
- Click on the tab and it should change a section of the browser page to the Getting Started with MicroPython section
- Read the instructions which should tell you to click on the Download UF2 file button
- After you click on the button and the file is downloaded, you should see the file listed at the bottom of your browser
Step 4. Install MicroPython on the Raspberry Pi Pico
- Click on the arrow next to the file on the bottom of your browser and select Show in Finder
- Drag the *.uf2 file from the Downloads Finder window to the RPI-RP2 Finder window
- After the file is copied the Pico will reboot, losing it's connection
- This will cause the Mac to popup a Disk Not Ejected Properly message - don't worry about that
- You will notice that the Pico no longer shows on the desktop
Step 5. Reconnect the Raspberry Pi Pico to your Mac
Note that for this step the Pico will NOT appear on the Desktop.
- Unplug the cable from your Mac
- Plug it back in again
- Once plugged in wait a few seconds
- For this step do NOT hold the button down or the Pico will connect in the wrong mode
- The Pico should NOT appear on your Desktop
Step 6. Confirm that the Pico is properly connected to your Mac
- Open up a Terminal window
- Run this command:
ls -ls /dev/cu.*
- You should see an entry similar to this:
/dev/cu.usbmodem0000000000001
- Assuming that you have nothing else connected, that should be the Raspberry Pi Pico
Step 7. Download and Install Thonny
- Browse to https://thonny.org
- Click on the download link for Mac to download the file
- At the bottom of the browser, click on the arrow for the thonny*.pkg file
- Select Open
- Go through the wizard to install Thonny
Step 8. Add Thonny to your Desktop
- Open up a new Finder window
- Under Favorites in the left sidebar, click on Applications
- Scroll down and find Thonny
- Right-click on Thonny and select Make Alias
- A new Thonny alias should appear next to Thonny
- Drag Thonny alias on to your Desktop
- You can now close the Finder window
Step 9. Launch Thonny
- Double-click Thonny on your Desktop
- If prompted with a Let's Go! button select your preferred language and click the button
Step 10. Connect Thonny to the Raspberry Pi Pico
- On the bottom right corner of the Thonny IDE, click on the Python label
- The Python label should also contain a version number
- If prompted for permission, allow it and you may need to click the label again
- Select MicroPython (Raspberry Pi Pico)
- If prompted to install a new version of MicroPython on the Pico just click Cancel
- We should have already installed the latest version when the uf2 file was dragged on to the Pico
- The Shell window at the bottom of Thonny should now look someting like this (your version and date may vary):
MicroPython v1.14 on 2021-02-05; Raspberry Pi Pico with RP2040
Type "help()" for more information.
>>>
Step 11. Write a quick Hello World test
- After the >>> prompt in the Shell window, enter the following and hit the return / Enter key on your Mac:
print("Hello Pico!")
- You should see a response like this:
Hello Pico!
Congratulations! You just wrote and ran your first program on the Raspberry Pi Pico!
Run it again
- Use the up arrow on your keyboard to call up the last line and hit return to run it again
Step 12. Run a script
- Click on the script window at the top of Thonny
- It should be labeled
<untitled> - Enter the following into the window:
print("Hello AGAIN Pico!")
- To run the program click the Run current script button (it looks like a Play button)
- As an alternative you could have used the Run / Run current script menu option
- When prompted for Where to save to? select Raspberry Pi Pico
- You should now see the Save to Raspberry Pi Pico dialog box
- Enter a filename:
hello.pyand click OK - You should now see in the Shell window:
>>> %Run -c $EDITOR_CONTENT
Hello AGAIN Pico!
Congratulations! You managed to upload and run a Python file on the Raspberry Pi Pico!
Troubleshooting
Thonny can't see the Raspberry Pi Pico
Make sure the Pico is properly connected to your Mac via the cable. You should NOT see RPI-RP2 on the desktop. If you do, that means the Pico is connected in the wrong mode.
- Open up a Terminal window
- Run this command:
ls -ls /dev/cu.*
- You should see an entry similar to this:
/dev/cu.usbmodem0000000000001
If you don't see this entry, unplug the Pico from your Mac and try again.
Remember to NOT hold down the BOOTSEL button when reconnecting. Otherwise the Pico will connect in the wrong mode.
Conclusion
In this article you learned how to:
- Connect a Mac (specifically an Apple MacBook Air M1) to a Raspberry Pi Pico
- Install the Thonny Python IDE and connect it to a Raspberry Pi Pico
- Write and upload MicroPython programs to a Rapberry Pi Pico
Related Articles
- Raspberry Pi Resource Guide - checkout my resource guide for links to my most popular Raspberry Pi articles, as well as useful hardware